SOCIAL MEDIA

Tuesday, April 1, 2025

Want to Read my Writing Again? I'm on SubStack!


Hello! Wow, it has been nearly five years since I last posted here. So much has changed.

I'm excited to share that I have started a SubStack, where I will share my writing. 

The past two years have been pretty life-changing, as we left the religion our families have been a part of for four generations after revelations of child sexual abuse, criminal activities, coverups, and wrong doctrine. So there's that!

You can expect to read about this experience growing up in a no-name church that was actually a bit culty. I will also write about faith in general, motherhood, self-confidence, womanhood, and anything else that comes to mind. 

I often write in narrative form, essays, poetry, and even in music. 

I hope to write a book someday soon, the first being a memoir of sorts. 

If anyone is still out there, I'd love to hear from you!

Follow me here: https://alissaklenk.substack.com/

Thursday, December 31, 2020

Remember me?

 Wow! It has been a LONG time. Almost 3 years actually! How is that possible?

I let my domain expire and thought this part of my life was gone forever, but found myself trying to remember things from the past, or to find pictures, and this is where everything was documented so well for so many years. I finally figured out how to resurrect the blog at the original address. 

Some greedy person took over my domain and wants to sell it for over $4,000-- so that's not happening! But I've been thinking about blogging again. I want to keep all of this history, but begin something new. 

So much has happened over the last couple of years, or 6 1/2 years-- which seems to be when everything changed with the birth of our daughter! Some things remain constant-- my hubby and I are still married, we still live in Iowa (but at a new home!), and I still struggle with my weight (big surprise there huh?). 2020 has been a struggle, but overall we have more to be thankful for than anything else.

I'm curious to see if there's anyone out there who will see this post! Let me know you're here!

Wednesday, April 25, 2018

On my own

I'm giving the IIFYM thing a try on my own today. I had planned to go off on my own last week until the super-nice coach offered me a free month. But I've been reminded again this week why I wanted to go on my own.

I have this issue with accountability-- I get too stressed out about it and it messes with my head! It's better if I can just follow a plan on my own and I'm the only one who knows if I've messed up or not. Maybe I care too much about what other people think? Oh well.

The good news is that I feel excited to track and pick out my foods today, so that's good! 

Tracking my coffee creamer has once again reminded me of how many carbs I'm drinking in it! It's just one of those things that I don't want to give up because I enjoy it so much and miss it a lot when I don't have it. I'll just have to go easy on it. My coach actually told me that I can go ahead and enjoy my coffee and a latte or two each week, so that was working well. I don't think it's the coffee creamer and latte or two each week that has made me fat anyways-- maybe if I was only 10 lbs. overweight I'd believe that.

But anyways, wish me luck!


Monday, April 23, 2018

What I'm Doing Now

Just checking in!

I've been following a diet plan from a friend of a friend for a little over a month now. This woman plans all of my meals for the week (you eat the same things each day for a week), tells me what to do for exercise (which I haven't yet), and is there for support. This system she uses is called If It Fits Your Macros or IIFYM. Heard of it?

So the first few weeks went really well. I lost about 15 pounds rather quickly! And then PMS hit and threw me off track-- not insanely off track, but enough for me to lose my mojo. I've been struggling to get it back. I'm not giving up though. I just need to be more dedicated and remember WHY I am doing this.

I have a few goals ahead. First, I'll be attending conference again this year and the seats are TINY. Last year, I weighed a good 50 lbs. less and it was uncomfortable. I hate to know what it'd feel like at my current weight.

I also earned a couple of free trips with Thirty-One that I'll be taking this fall and I want to feel good in my skin. We'll be going to the Atlantis Resort in the Bahamas in September and then on a cruise to the Bahamas in November. I'm really, really looking forward to both. I need a vacation SO BADLY.

I miss the feeling of accomplishment that I used to have back when I had lost all of that weight and was running. I felt good about myself and about life. Lately, I've just been feeling glum-- feeling badly about myself physically, stressed out dealing with a high-energy toddler, and playing the comparison game with other mothers.

But I know enough to try to focus on positive thoughts and not the negative ones. I just miss who I used to  be.

Friday, March 30, 2018

Hello, It's Me

Hello, It's Me.
I was wondering if after all these months you'd like to hear
to go over everything
I know that I was supposed to check in, but I ain't done much checkin

Hello, Can you hear me?
I'm in Iowa dreaming about who I used to be
When I was thinner and free
I'd forgotten how it felt before the weight was on my knees
There's such a difference between us
and a million meals

Hello from the girl who's tryin
I must've tried a thousand times
To tell you I'm alive
and I'm doing alright
But when I try I never seem to be brave
Hello from this side
At least I can say that I've tried
To tell you, I'm living and doing just fine
But it don't matter
It clearly isn't meant to be rude, for sure

Hello, how are you?
It's so typical of me to talk about myself, I'm sorry
I hope that you're thin
Did you ever reach your goal weight or run that one marathon?
It's no secret that the both of us
are running the same way

So Hello from the girl who's tryin
I must've tried a thousand times
To tell you I'm alive
and I'm doing alright
But when I try I never seem to be brave
Hello from this side
At least I can say that I've tried
To tell you, I'm living and doing just fine
But it don't matter
It clearly isn't meant to be rude, for sure


Tuesday, January 2, 2018

Hangry

Yesterday was Day 1 and it went well! I didn't feel like I was dieting at all, but I did feel in control. It was a success.

Today has been a bit of a struggle! I'm so hungry! So far so good though. I decided to eat some boneless, skinless chicken for a snack since I figure the protein will help-- and it's 0 points with WW Freestyle SmartPoints. 


Perhaps I need to eat a little more fat too so I feel satiated, or cut down on the carbs at breakfast and get back to eating eggs-- which by the way are 0 Freestyle SmartPoints too! I need to boil some eggs to eat as snacks.

Are you following the new FreeStyle SmartPoints system? What do you eat regularly? I'd love some ideas!

Monday, January 1, 2018

A New Beginning

It's New Years Day, so of course you're going to hear from me again! I'm another one of those New Years Resolutioners, but you have to start somewhere or you'll never start. So here I am.

The most significant thing that I did for weight loss was join a medically supervised weight loss program. It was very low carb, no drugs or anything like that, but I found that I could not stick to it. I ended up quitting and they gave me a portion of my money back.

I'm ok with the fact that I quit. I tried something new, found it wasn't for me, and I made a decision to stop and try something else. Granted, I did not try something else after I quit in November-- but it was the holidays and I enjoyed living without obsessing about food. So I'm ok with that too.

As far as weight loss goes, I have learned that I cannot do any diet with restriction-- restriction of a certain food group, too much restriction, or generally trying to force my mind into believing that something is off limits. It's probably a mind thing, but it is the way I am and always have been. Whenever I start restricting, it leads to a massive binge period at some point-- and that's not healthy.

The last year has been a good one for me. Miraculously, I developed either a growth in self-love or maybe a failure-to-care anymore attitude. Either way, I am in a better place mentally.

I no longer look in the mirror and hate myself-- I do avoid mirrors most of the time though, just sayin'. But I don't feel the overwhelming feeling of self-hatred anymore.


Mostly, I am in awe that despite what I have put my body through it continues to be strong, give me life, and my bloodwork is perfect. With my blood work alone, you'd never know I was morbidly obese. And I am so thankful to my body for that. It's incredible.

But it's time to start taking better care of myself, not because I hate myself and want to change, but because I respect what my body is capable of and I love myself enough to want to change. I want to change because I deserve more. I want to change because I don't binge on certain foods because I want to, but because I'm using them as a bandaid. I'm tired of being broken, and I want to rehabilitate.

After some thought, I did join WW online again. I feel like it will give me the guardrails that I need with enough wiggle room to avoid restriction and deprivation. It's a different program from the last time that I did it so I am excited about it.

Wednesday, August 9, 2017

Do you know the value of $1?


Right now is the best time to start your business! I'd love to have you on the team-- feel free to reach out to me with questions

 or 

just go ahead and enroll here: http://bit.ly/2upUb7d

Tuesday, August 1, 2017

5 Easy Ways to Clear Skin

This shop has been compensated by Collective Bias, Inc. and its advertiser. All opinions are mine alone. #AfterDifferinJourney #CollectiveBias

5 Easy Ways to Clear Skin #AfterDifferinJourney #ad.jpg


I have had acne off and on since I was a teenager. Even as an adult, I have not been able to have a 100% clear face. However, I have found that skincare doesn’t have to be difficult or time consuming. Here are a few simple and easy-to-remember ways to clearer and more radiant skin.

1. Clean Up Your Diet


Clear your skin by improving your diet #AfterDifferinJourney #ad.jpg


There’s no doubt about it, you are what you eat. Your skin naturally becomes more radiant and clear when you’re consuming foods that are natural, healthy, and full of vitamins and minerals. Foods and drinks that are high in antioxidants can have positive effect on the skin. Fill your plate with the colors of the rainbow: fruits, veggies, foods high in omega-3s, and hydrate with a glass of refreshing water.


2. Wash Your Face at Night and in the Morning


fullsizeoutput_1102.jpeg


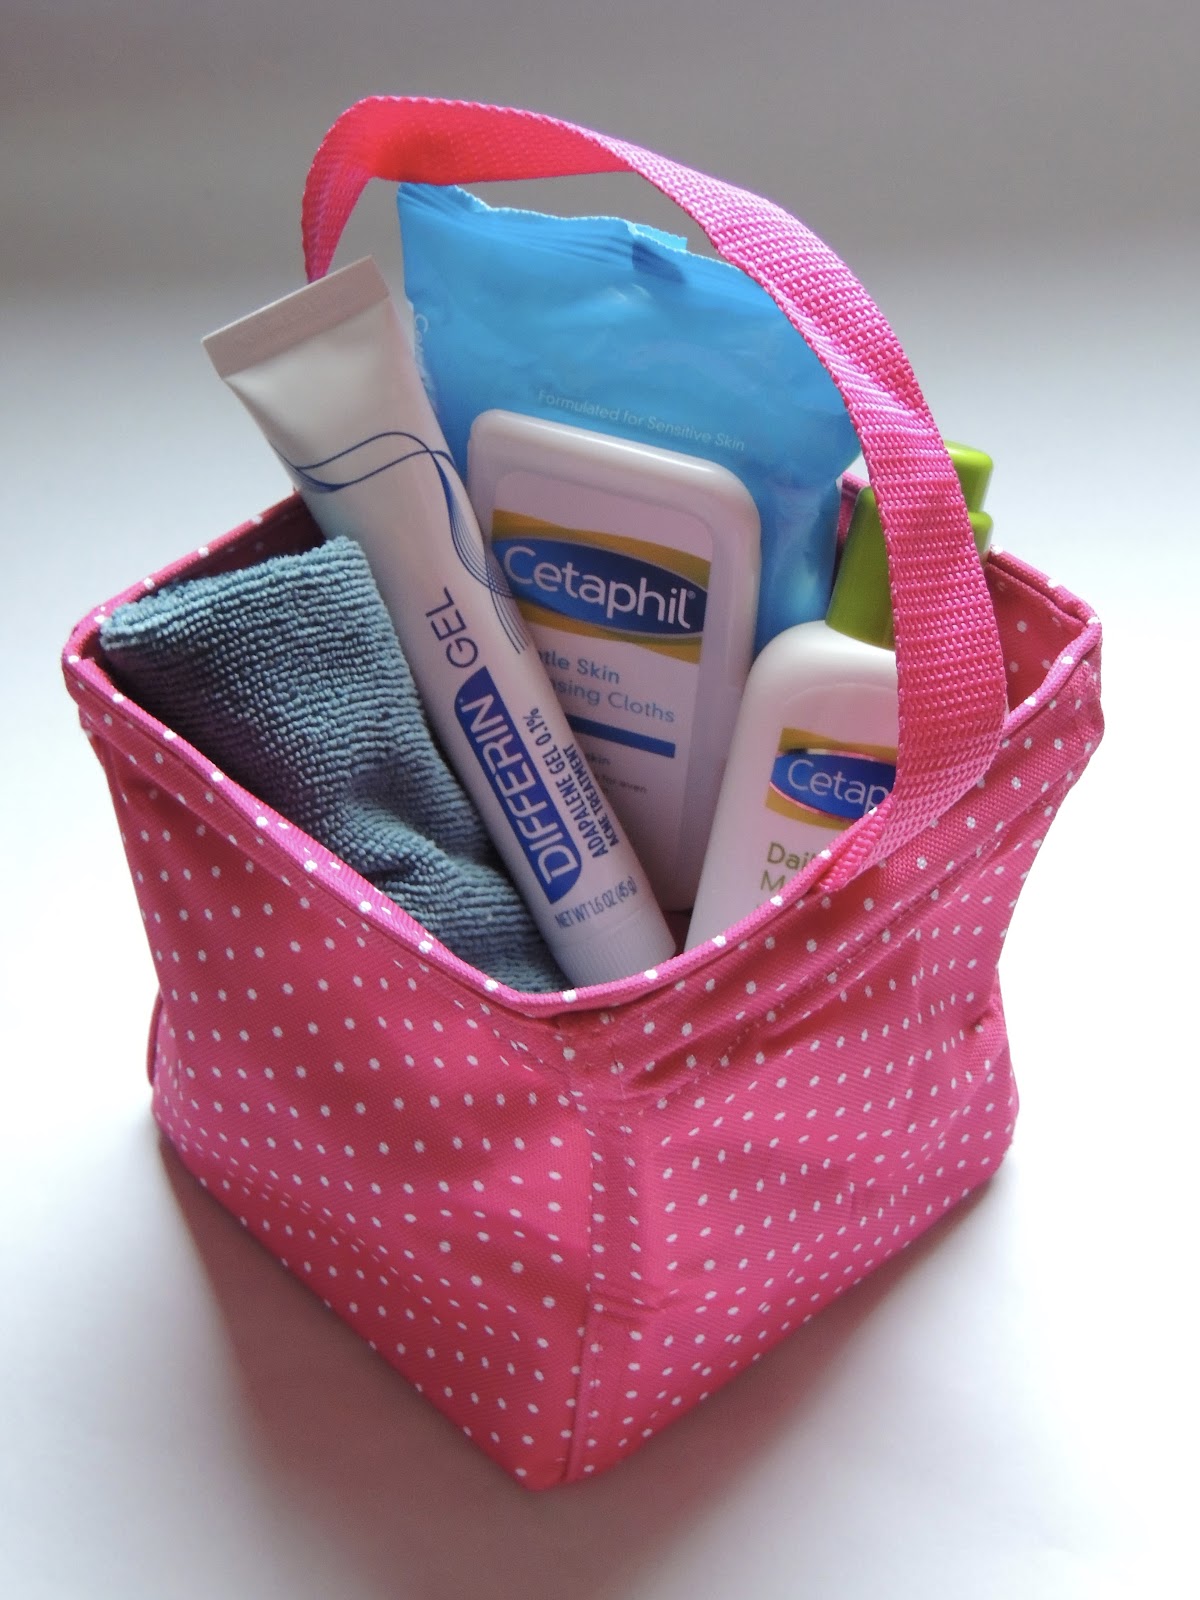
This one goes without saying, but sometimes it can be easy to forget to wash your face at night when you’re tired out and just ready to crash. If that’s the case, have a Facial Care Kit at your bedside so that you don’t have any excuses. Make it easy!


Depending on your skin, you may want to change up your washing method in the morning. If you do a deep clean of your face at night, then a more gentle approach in the morning is best so that you don’t dry out your skin.


3. Use Differin® Gel at Night


fullsizeoutput_10f9.jpeg


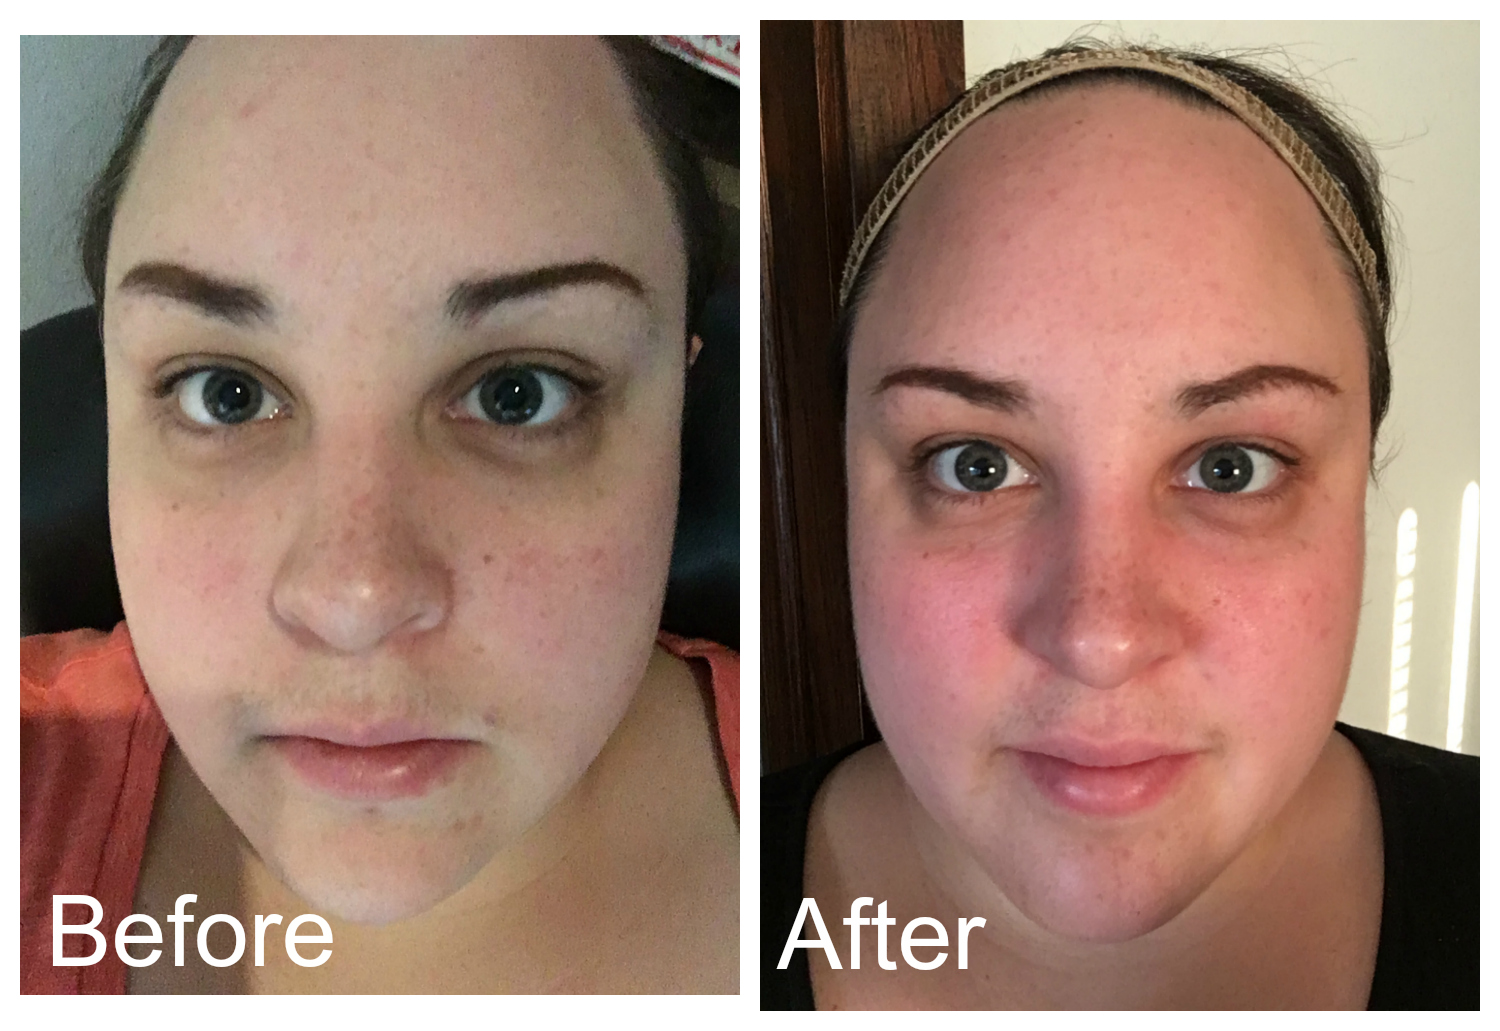
I started using Differin® Gel after washing my face in the evenings. I apply it over my whole face; it’s not a spot treatment. You need to apply a thin layer all over your face, once a day, every day. I simply added Differin® Gel to my daily routine of cleansing, exfoliating, and moisturizing. Since using Differin® Gel, I have noticed less acne and a clearer look to my face.


Before & After Differin® Gel Journey.jpg


It’s so hard to show the difference in a photo, but I think my skin is more radiant and has been consistently clear. Spots and discoloration, due to overexposure to the sun are still there, so you have to try to look past them! I’m happy to not have to deal with acne breakouts anymore!


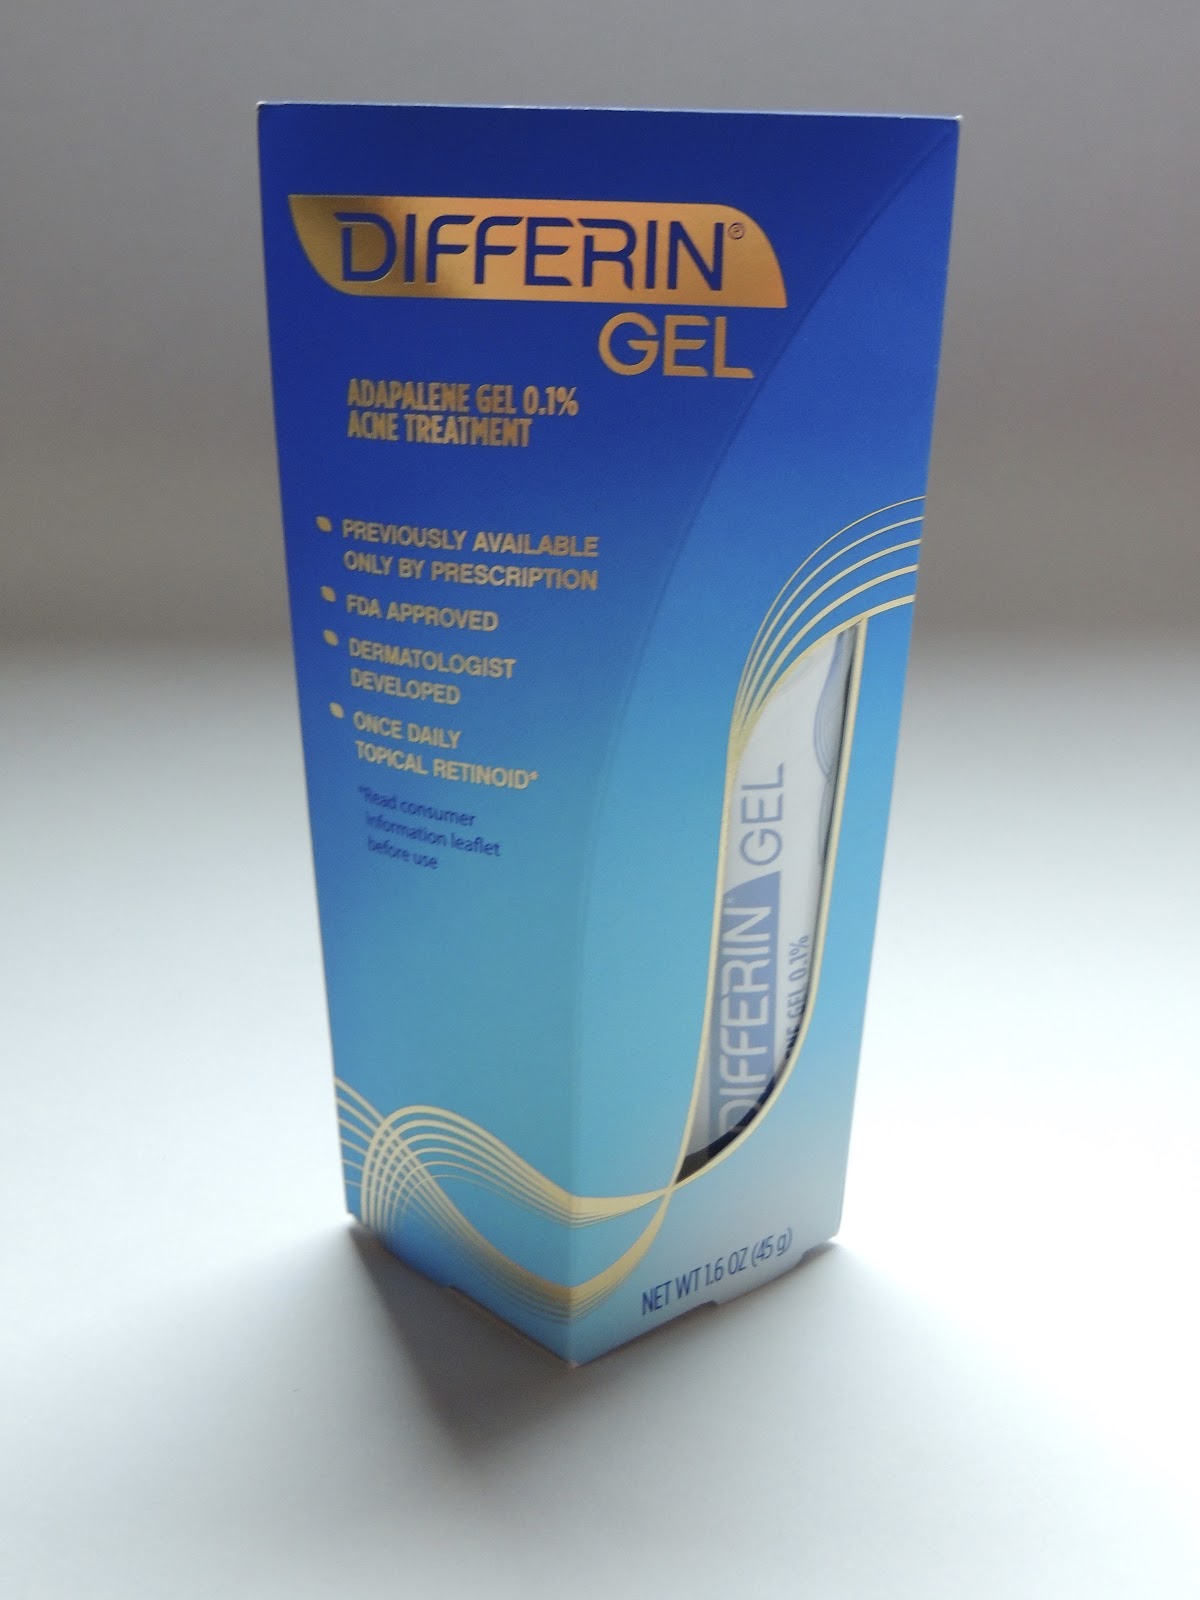
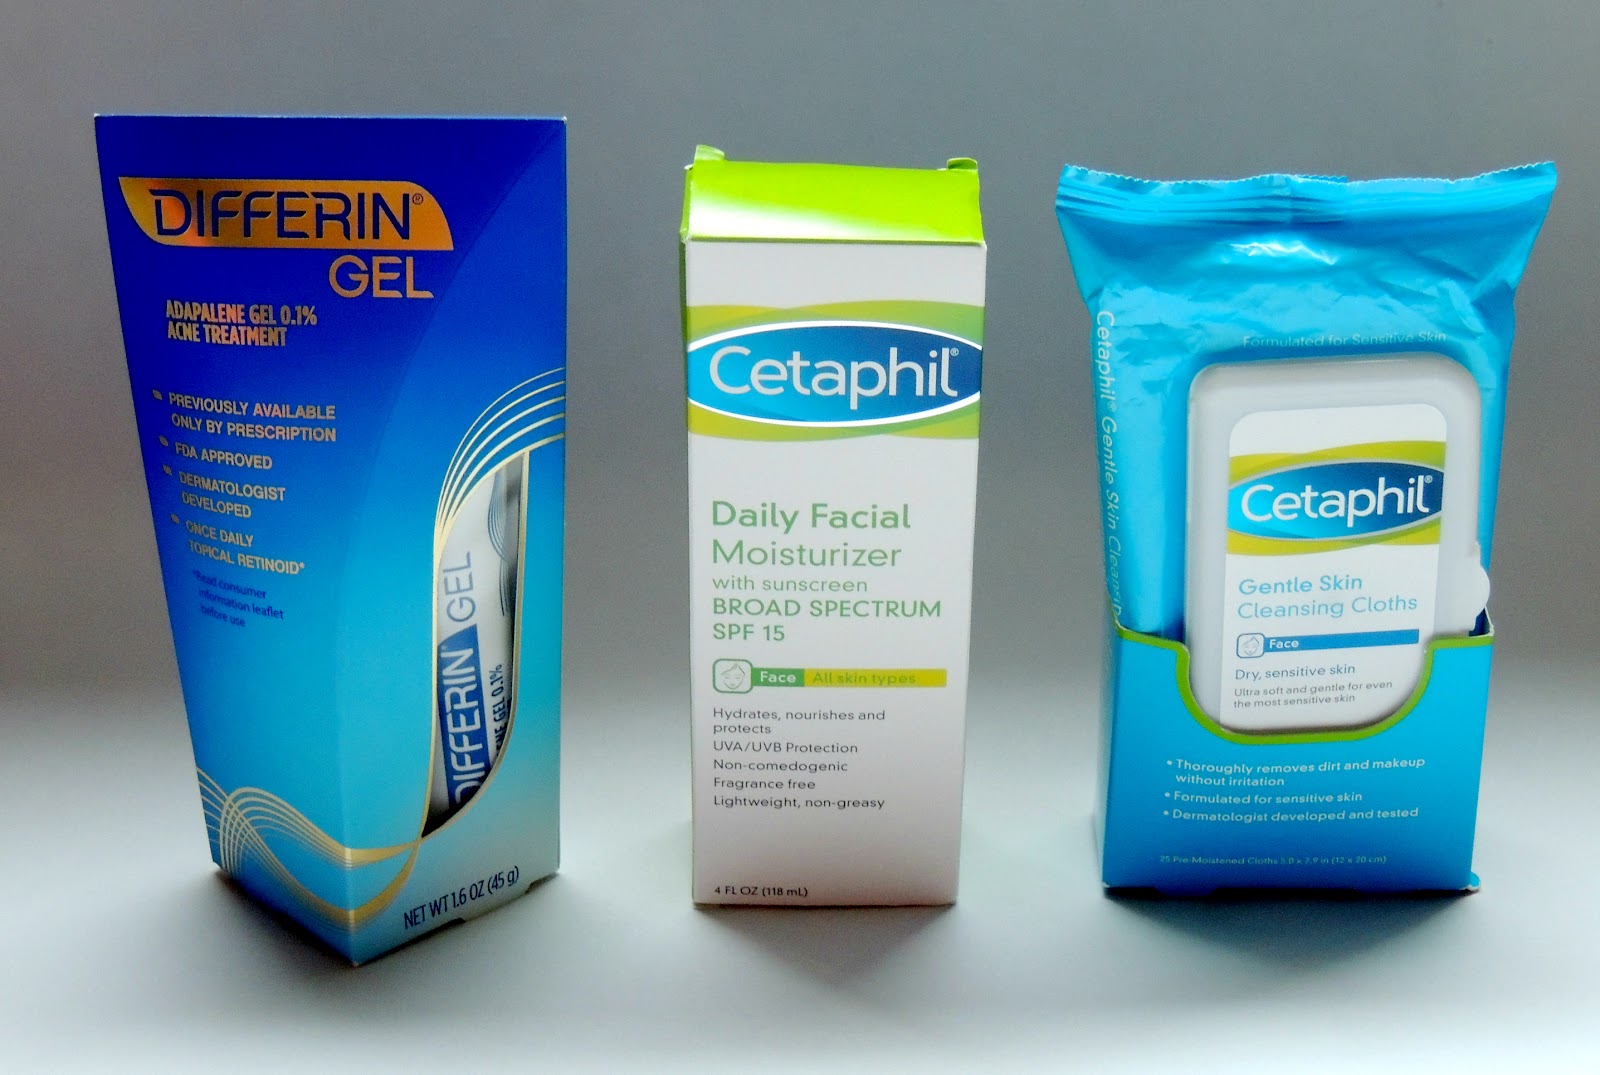
Differin® Gel is the first and only prescription-strength retinoid available over-the-counter. It helps clear the skin and prevent acne. It’s the latest advancement in the OTC acne category in 30 years. It prevents breakouts deep in the pores before they begin and, as a result, restores the skin’s texture and tone.


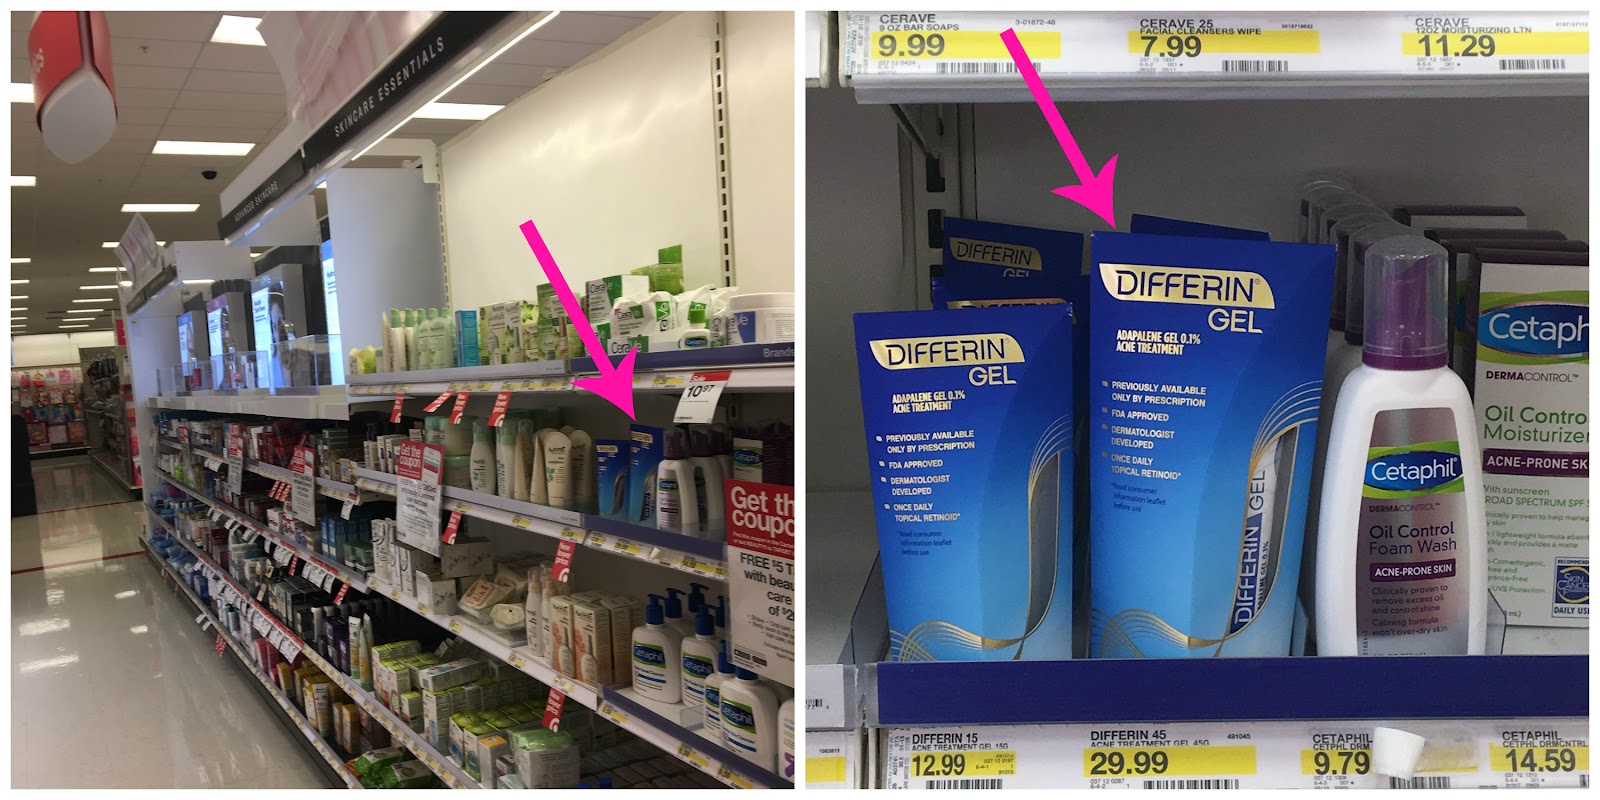
I found Differin® Gel in the beauty section at Target, specifically in the aisle with facial care/skincare solutions.


Differin® Gel at Target.jpg

I purchased Differin® Gel 45g, Cetaphil® Daily Facial Moisturizer SPF 15, and Cetaphil® Gentle Skin Cleansing Cloths.

Differin® Gel 45g #AfterDifferinJourney #ad.jpg


Please use caution when using Differin® Gel with more than one acne treatment or glycolic acid product because this could lead to irritation.


4. Exfoliate


Exfoliate daily for clearer skin #AfterDifferinJourney #ad.jpg


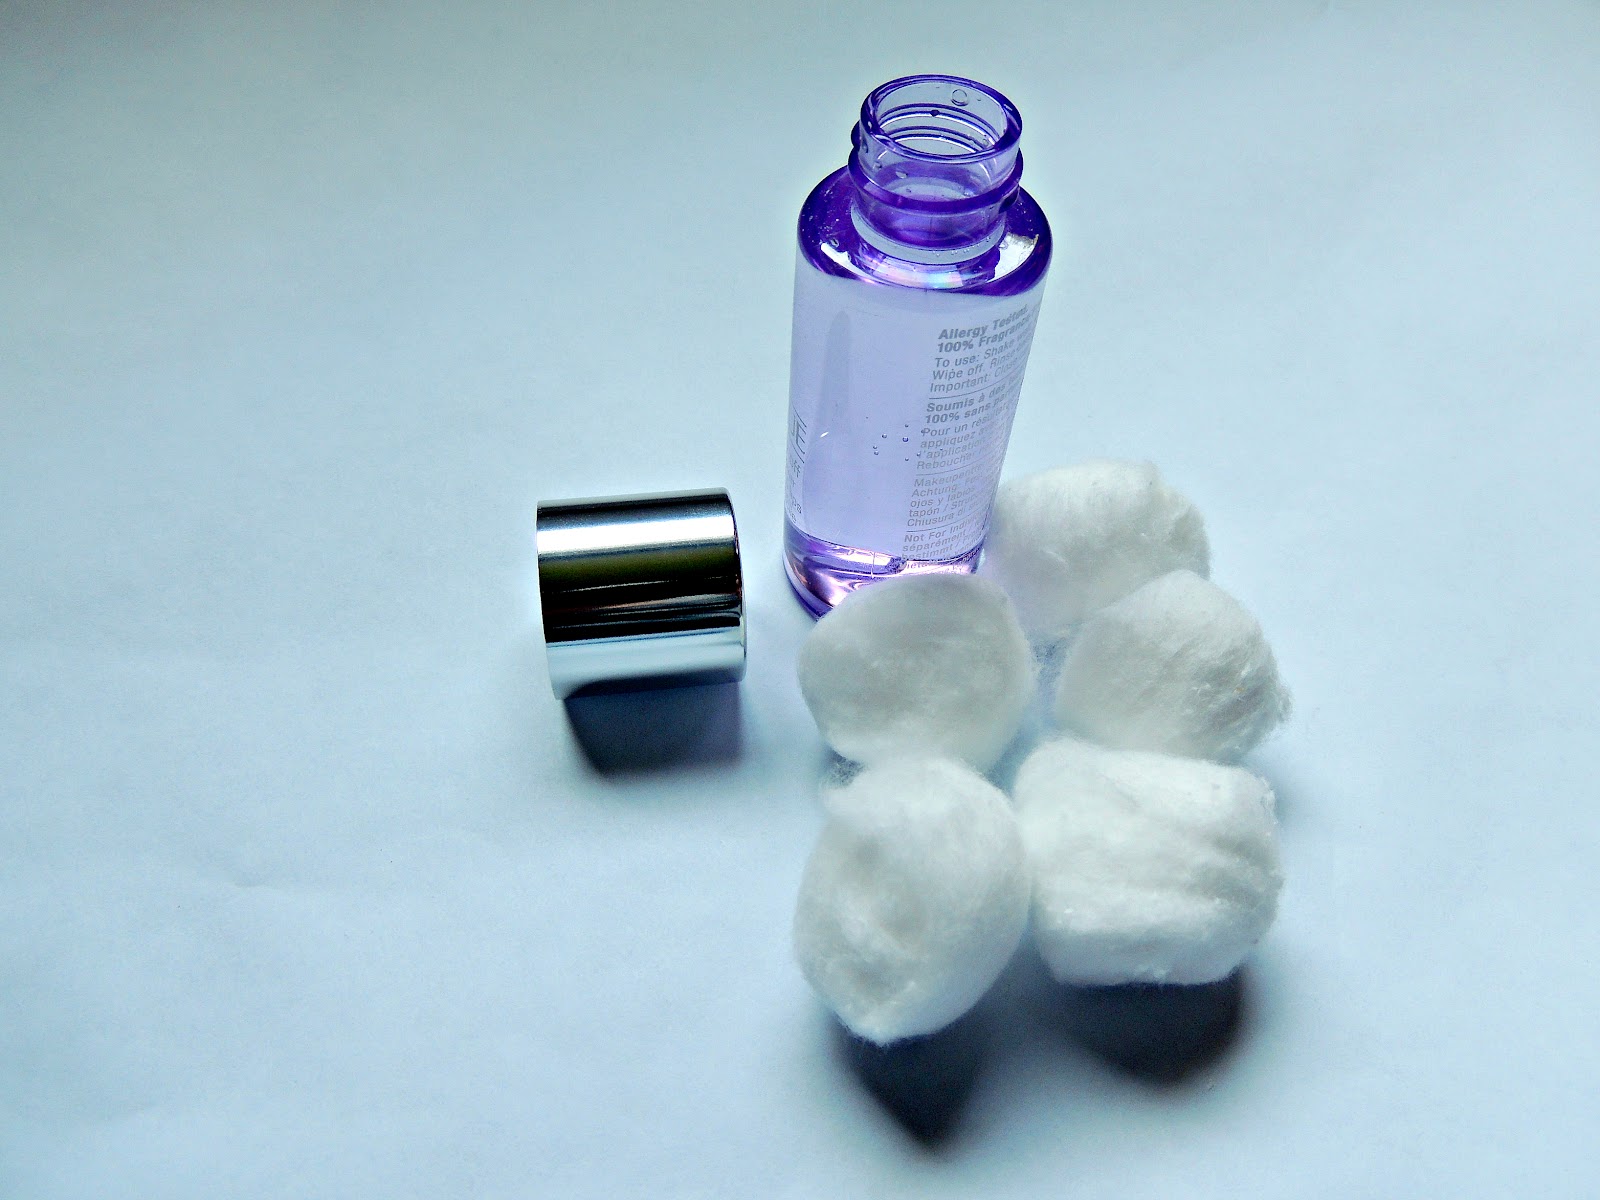
Part of my daily morning routine is to exfoliate my face using a gentle clarifying lotion; you can also use a facial scrub. This process removes dead skin cells making the skin more radiant. I exfoliate after washing my face with a gentle cleanser. You wouldn’t believe the amount of filth that still comes off of my skin, even after a good cleansing! This process helps the skin remain clear. I make sure to follow it up with a moisturizer after using Differin® Gel.


5. Always, Always, ALWAYS Use Sunscreen


Apply Sunscreen to Protect Skin #AfterDifferinJourney #ad.jpg


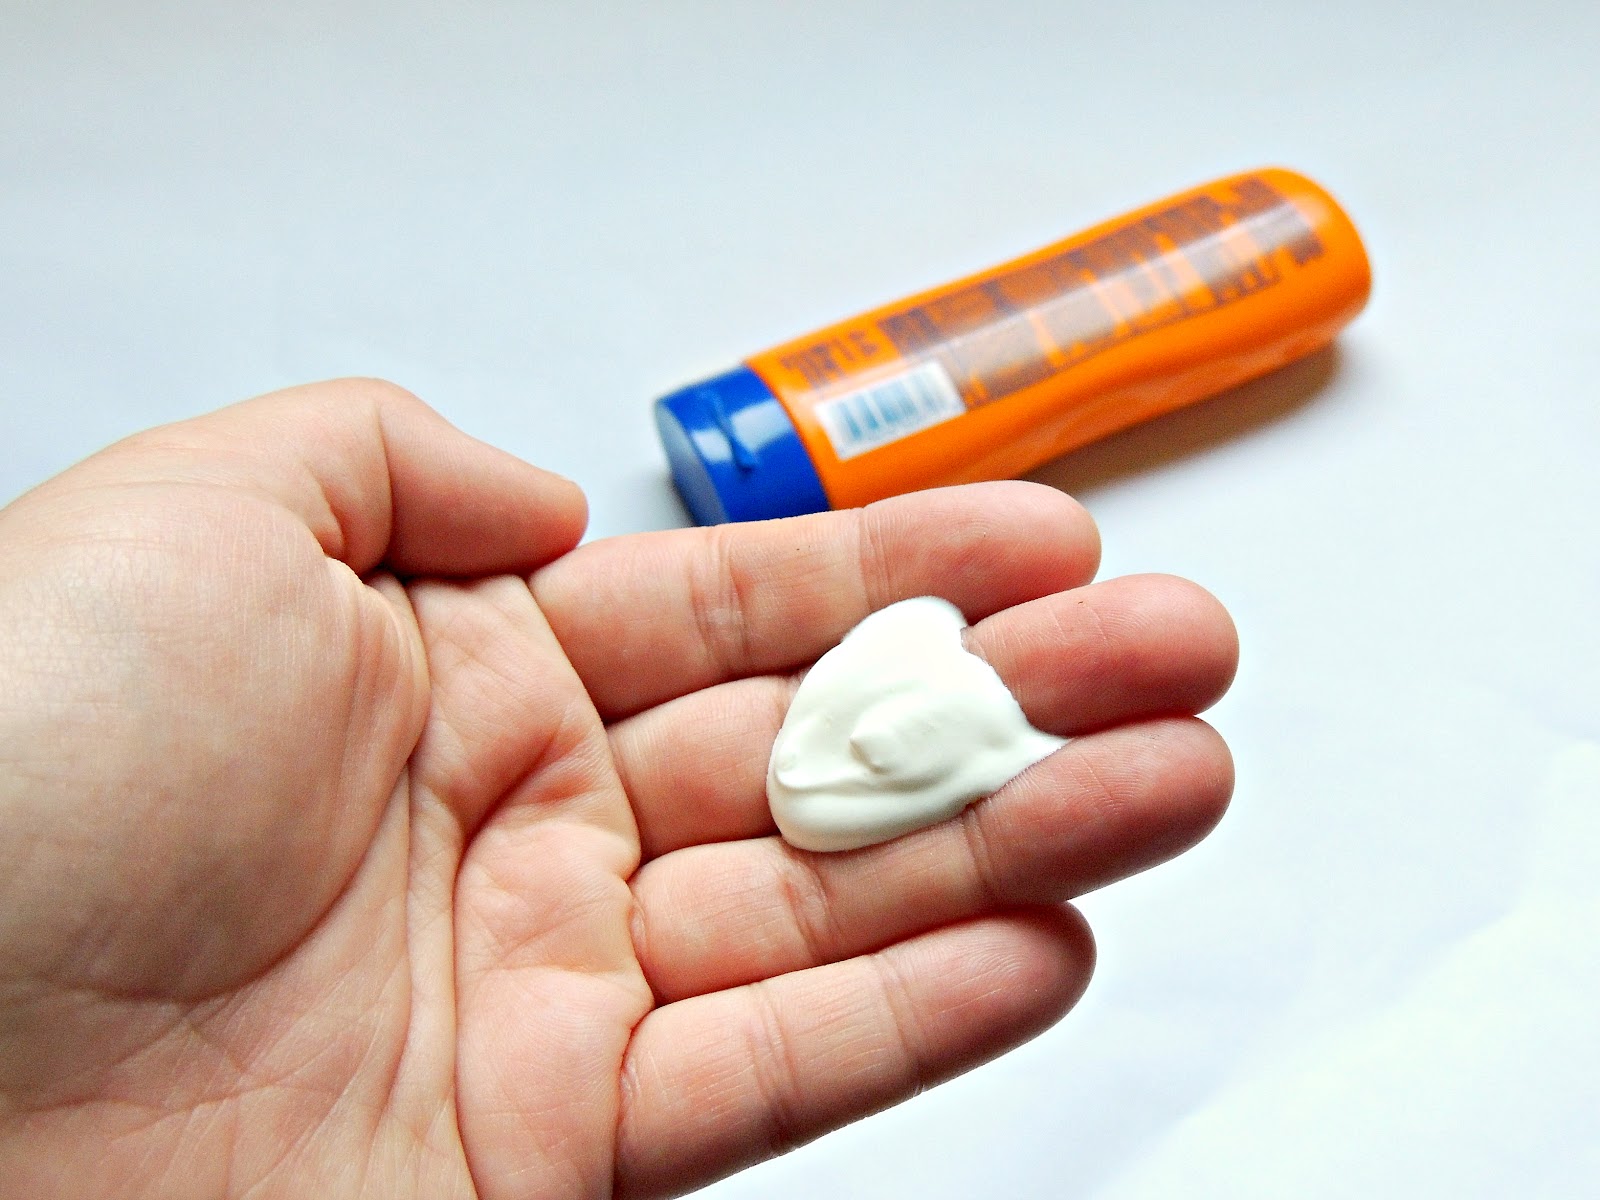
I have learned this lesson the hard way. As a teenager, I disregarded the advice to wear sunscreen thinking that it wasn’t something I needed to worry about. I just wanted a really, really good tan. This lack of wisdom has turned into spots on my skin. Discolored spots cover my nose and random spots have begun to appear across my face. Needless to say, I am a lot more careful about applying sunscreen these days. Hopefully, these tips can help both of us prevent anymore additional damage to our skin!

Go to Differin.com to get $2 off Differin® Gel and use it on your next shopping trip to Target!


How do you keep your skin clear? Have you used Differin® Gel? If so, share your results!

This product is dermatologist developed and tested. Please call 1-866-735-4137 for any questions you may have concerning the product. However, should you experience any problems while using the product, please discontinue use and consult your healthcare provider.

Sunday, July 23, 2017

Weighing In!


I went and started a new program and haven't come back to update you on my progress! Life has been busy-- but what else is new, right?

As of this morning, I had lost about 19 lbs. Super happy about that! That's in just over a month. It could probably be more-- but I haven't been perfect on this since the 4th of July when I got a little off track. However, there have been drastic improvements in what I've been eating. Honestly, I don't care if it takes me a little longer to lose the weight-- I don't want to make myself crazy being too strict.

Since being off the blood pressure medication that causes depression, I have felt a lot better! I haven't had any "depressive" episodes. My mood has been pretty level and normal. Not only that, I'm not retaining fluid anymore so my wrists don't ache anymore-- that's such a relief!

I should also note that the dosage of my new blood pressure medication has been decreased to half of what it was initially! That is definitely a positive change!

The biggest improvement has been the reduction of sugar in my diet. Once you get off of sugar, you start to realize that it's like a drug. When you have a little bit it will make you crave it like crazy. I haven't had any "binge" episodes since beginning to eat this way either. I don't think about food constantly. I'm satisfied and sometimes I forget to eat. Yes... I just said that. Crazy!

I still have a very long road ahead, but it feels good to be going in the right direction again!

Friday, June 23, 2017

First Week Weigh In


Today is officially one week on the induction to my new way of eating. I am amazed that I am not hungry at all and that cravings are not uncontrollable anymore. It has very little to do with willpower and much more to do with the fact that I'm consuming very few carbs and that influences the release of insulin, etc. It's really interesting!

I have lost a total of 13.2 lbs. in my first week! I couldn't be happier! I'm sure a significant portion of this is water weight-- I don't think my old blood pressure medicine was working so well and I had been very puffy.

Since beginning this way of eating, all pain has literally disappeared. I was having horrible pain in my hands and wrists, my joints were hurting, and I had frequent headaches. I have had some headaches-- but definitely fewer! I would be interested to know whether or not the pain was due to extra fluid in my body, due to gluten, or what!

There is one more week to this induction phase, but I will learn about the next phase of the diet on Monday! I am excited to learn more.

I have a very long way to go so I need to keep my eyes on the prize. The cruise that I earned is coming up in September and I hope to have lost at least 30 lbs. by then. That would be great!

Sunday, June 18, 2017

DIY Summer Oasis Playhouse

This shop has been compensated by Collective Bias, Inc. and its advertiser. All opinions are mine alone. #RoofedItMyself #CollectiveBias


With an energetic toddler, we needed something in the backyard that would keep her busy for the summer months. I decided to design a playhouse to serve that purpose. I wanted it to be multi-functional-- not something that she would easily get bored with. I think it turned out great and so far she hasn't been bored!

We also wanted the playhouse to look nice in the backyard-- something that beautified the yard rather than made it look cluttered and junky. This is where the hubby came in. He's a carpenter by trade, so when I told him my idea-- he quickly drew up a plan and got to work!


And so the Summer Oasis Playhouse was created. To keep the backyard looking classy, we knew we wanted to add shingles to the roof. We started the project by visiting the GAF Roofing Center at Lowe's. It's set up to show the different types of shingles on a good, better, and best spectrum. It's located on an endcap and is a great place to look at all of the shingle colors and styles. Everything that you need for your roofing project is located all in one general area.


We decided on the Timberline® Shingles brand since it's the best selling brand in North America. We used Timberline® Natural Shadow® Shingles, FeltBuster® High Traction Synthetic Roofing Felt, and TimberTex® Premium Ridge Cap Shingles. You can learn more at the GAF Website or Facebook Page.

I also wanted the playhouse to have an open concept where she could enjoy a nice breeze yet still be shaded from the sun. We added shingles to the roof and siding on portions of the playhouse so that it matches well with our home. Little Miss Sunshine is going to have so much fun this summer.


The front of the playhouse is open with an attached "bench" that is large enough for an adult to sit on and relax while the little one plays. It's also the perfect height and size for a small children's table.


One side of the playhouse was built with a lemonade stand in mind. It features a wooden countertop that sticks out past the exterior of the playhouse to serve as a "bar" type area. Children will have endless amounts of fun playing restaurant, ice cream shop, coffee shop, or lemonade stand. There are so many possibilities! It's the perfect height for children and adults alike to pull up a chair and enjoy a cold drink or even a meal.


The opposite wall features a chalkboard which runs from the floor to the ceiling. It's the perfect spot for little artists to draw with sidewalk chalk, write a menu for their pretend restaurant, or even to play school.


Half the length of the playhouse is a sandbox-- it's the perfect size for a couple of small children to play in, but still gives room for an open area near the bar area so it's easy to walk in.


The backside of the playhouse is made to look like a wooden fence with slats and provides a cool breeze, a perfect view of the outdoors, additional lighting in the playhouse, and a nice style. Eventually, I would like to plant sunflowers, or something along the exterior of this fence side that would grow up along the fence and add some greenery-- the perfect gardening project for littles.


This project is easy enough for anyone to do-it-yourself. It does take a considerable amount of time to assemble. Hubby worked on it on the weekends and in the evenings after work. The good thing is that it's a project that can be completed in stages and you can stop here and there when you need to.

Want to build one for your littles? Here are some instructions so you can DIY!

Material List:


  • 4 brick pavers
  • 2- 4x8 osb or cdx plywood sheets (1/2" - 5/8")
  • 5- 1/4" - 1/2" plywood sheets
  • 2- 8' 1x6 cedar
  • 2- 10' 1x6 cedar
  • 3- 4x4x8' cedar
    • cut 4- 4' long pieces
    • use others for bracing purposes
  • 2- 2x4 8' cedar
    • cut at 64"
  • 9- 6' dog eared cedar
    • cut at 4'
  • 7- 10' 2x4 (also use for cuts below)
    • cut 14 pieces at 48" at an 8/12 pitch long point to short point
  • 13- 8' 2x4
    • cut 2 at 7'
    • cut 3 at 81"
    • cut 6 at 18"
    • cut 6 at 43 1/2"
  • 2- 8' 2x4 green treated
    • cut 2 at 81"
  • 6- 8' 2x6 green treated
    • cut 3 at 64"
    • cut 2 at 81"
    • cut 1 custom for sandbox
  • 8- 8' 5/4 decking boards
    • cut 15- 20" boards
    • the rest are used to custom the bench top
  • 4- 8' 1x4 white pvc trim (wood grain)
  • 4- 10' drip edge (white)
  • 4x4 smooth cement board (if building chalkboard)
  • 11 - 8' x 7 1/4" James Hardie Board siding
  • 2 lbs. 3" deck screws (or 16p nails)
  • 1 lb. 1 5/8" deck screws
  • 2 lb. 8p sinker nails
  • 2 lb. 1 1/4" galvanized steel roofing nails
  • 1 lb. 1 3/4" galvanized steel roofing nails
  • 1 small box 1" round plastic cap roofing nails
  • 1 roll FeltBuster® High Traction Synthetic Roofing Felt
  • 2 bundles Timberline® Natural Shadow® Shingles (Pewter Gray)
  • 1 bundle TimberTex® Premium Ridge Cap Shingles (Pewter Gray)
  • 1 tube Black Jack caulk
  • 1 qt. black chalkboard paint (if building chalkboard)
  • sand for sandbox

Tool list: 

  • hammer
  • impact drill
  • 2' level
  • 6' level
  • triangle square
  • tape measure
  • carpenter's pencil
  • skil saw / saw
  • grinder (if used cement board for chalkboard)
  • utility knife
  • scissor style tin snips
  • PVC coated gloves
  • safety glasses
  • 6' ladder
  • saw horses
  • shovel


Instructions:


Step 1: Select the location where you want your playhouse to stand. Level out the area where the four corners will be located and place a brick paver in each corner to act as a footing for stability. (see pictures in step 2)

Step 2: (If needed) Using a shovel, level out the outline of the perimeter so that you have leveled the ground for the four sides of the playhouse. My hubby is a carpenter so he had a leveling laser for this step but you could also use string lines and a long level (for these instructions click here).


Step 3 & 4: To form the perimeter and an outline to build the outside walls, screw 2- 81" and 2- 64" 2x6 green treated boards to the 4- 4x4 cedar corner posts with 3" deck screws.


Step 5: Using 3" screws (or 16p nails), fasten the 6- 43 1/2" 2x4 studs together, 16" on center in between the top white plate (2x4) and bottom green treated plate to assemble the full wall.


Step 6: (Wall 1) Place the assembled wall in between the two plumb corner posts and fasten the wall to the corner posts with 3" screws. Place the third plate on top of the wall and fasten with 3" screws or 16p nails.


Step 7: (Wall 2) Turn two 2x4 cedar boards flat and install them in between the two exterior 4x4 cedar posts using 3" screws. With 1 5/8" deck screws, fasten the 9- 4' dog-eared cedar slat boards (fencing) to the 2- 64" 2x4 cedar boards.


Step 8: (Wall 3) Notch the two 4x4 cedar corner posts 3 1/2" deep (top to bottom) and 1 1/2" wide (from the inside out). See photos below. This will act as the support for the 2 ply 2x4 header for the rafters.


Glue and screw together the 2- 7' 2x4s with 3" deck screws from both sides of the boards with a two screw pattern, 12" on center. Place in between the two notched cedar posts and screw together with 3" screws from the outside of the posts into the header. (See Step 7, photo 2)


Step 9 & 10: (Wall 3) Build a shorter wall opposite the tall wall to act as a little bar area. Assemble the same as done in step 5.

Assemble the countertop using a qty. of 15 20" cut 5/4 cedar deck boards by screwing them to the top of the short wall with 1 5/8" deck screws. We installed ours with 4" to the inside and 1' to the outside. Later, we installed a bracing system for this table after the siding was applied. The braces were made out of the 4x4 cut offs from the corner posts and a second layer of 5/4 cedar deck boards under the countertop. (see step 28)


Step 11: (Rafters) We decided on an 8/12 pitch so we will give instructions based on that. However, you can choose the pitch of the roof and adjust accordingly.

Using a triangle square, make a line with an 8/12 pitch common, and then cut. From the long point of your cut, measure 4' down the board and then make another cut exactly like the first so that the pitches are going the same direction.

Cut a birdsmouth in the rafter at the location of where the plates/header will be. You can determine where to cut by screwing two together, holding them out on the edge of the building at the corner post location.


Make sure the point of the two rafters is directly centered/plumb on the building, hold it against the 2- 4x4 exterior corner posts. Trace on the backside of your rafter for the birdsmouth. Do not cut more than 1/3 of the depth of the rafter when cutting the birdsmouth. Also, do not over cut your trace marks as this will weaken the board-- using a jigsaw is recommended in this application. This makes sure it is structurally sound. There is a formula for acquiring the length and depth of the birdsmouth but it was not necessary to use on this small of a project. We used trial and error.


Assemble five of these rafters.

Step 12:  Install the five rafters 2' on center by toe-nailing each rafter to the top plate/header with 3" deck screws. Once installed, we placed 2x4s (about a foot down) on each rafter to act as a sag brace.


Step 13: Sheet the roof with the two sheets of 5/8" (or 1/2") osb or cdx plywood. Make sure the overhang is the same on both sides before nailing it down with 8p sinker nails every 6" on center.


Step 14: Add two more rafters (without birdsmouths) per end at the outer edge of the roof sheeting to act as the gable-end fascia board. Nail 1x6" cedar boards to the rafter tails (past the edge of the wall) with 8p galvanized nails for facia trim (see third photo below-- although not shown in this picture, a 1x6" cedar board will be applied to the gable end as well).


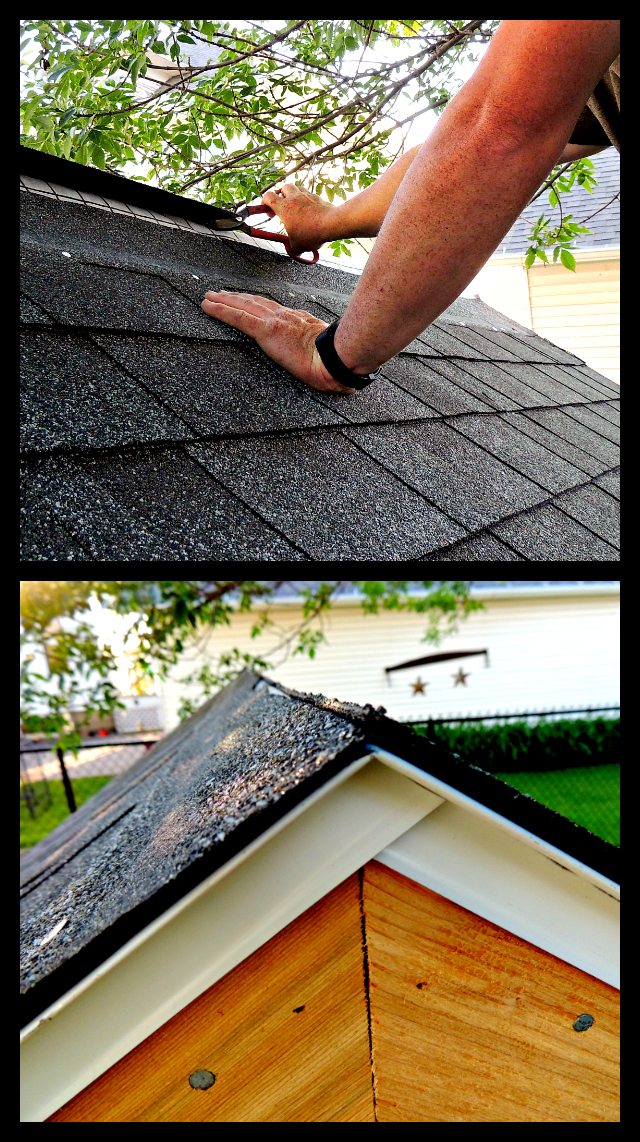
Step 15: Install the drip edge by measuring the length of the sheeting and cutting the drip edge to size. Screw/nail (1") this down to the sheeting with the short profile over the face of the fascia and the long profile on top of the sheeting.


Step 16: For the gable ends, cut a notch in the short profile (as shown in the picture) in the center of a full piece of the drip edge. Bend it over the top of the peak of the gable end and cut to length at the edge of the drip edge that you previously installed.


Slightly notch the end of your cut so that you can bend the sharp point around the corner to finish it out.


Step 17: Install the FeltBuster® High Traction Synthetic Roofing Felt over the top of the roof sheeting with 1 1/4" round plastic cap roofing nails. Nail at pre-marked locations. Make sure the FeltBuster® does not stick past any edge of the roof, if it does-- cut it off with a utility knife.


Step 18: Apply a shingle starter strip by either turning a shingle upside down so that the tar is facing upwards or by using manufactured starter shingle strips. This is what seals the first row of shingles down to your roof.  (as seen towards the right edge in picture one below)

Using 1 1/4" galvanized roofing nails, install the Timberline® Natural Shadow® Shingles by stair-stepping at least 6" and cut the starters and finishers as required so that it is even with the edge of the drip edge. The next row will start at the top edge of the architectural cutout of the previous shingle (as seen in picture three below). Nail 5 evenly spaced nails just above the architectural cutout so the nails do not show when the next shingle is placed above.

(The shingles look great and we were impressed with how durable they are! They are sure to last a long time.)


Cut any excess shingles past the ridge peak off.


Step 19: Install TimberTex® Premium Ridge Cap Shingles. These are pre-perforated in the package. Bend them until they break into three individual pieces, as shown below.


Use a piece of starter strip, or turn a TimberTex® Premium Ridge Cap Shingle upside down so that the first cap has something to stick to (as described in shingle installation).


Nail these down with 1 3/4" galvanized roofing nails. There is a notch on the cap that shows where to start the next cap. Always nail on the outer edge of the cap so that your nail will not be exposed by your next piece installed. Center the cap on the peak of the building and run a straight line until finished. Cut the excess so that it is even with the edge of the drip edge.


Caulk the two exposed nails with black jack or similar.


Step 20: For safety reasons (see nails sticking out below), install 1/4" or 1/2" sheeting to the underside of your rafters. If you use 1/4", you may want to install extra backing for nailers because the 1/4" does not span 2' on center and could be wavy.


Step 21: (optional) Add decorative features to cover voids, as shown below.


Step 22: You may add a corner brace to make the building stronger, as shown in the first picture below.

Build the bench by screwing a ledger board to the exterior wall and some upright 2x6s (backing boards) to support the bench top (as shown in the 4th picture).

Screw 5/4 cedar boards to the top of the ledger board and backing boards. The bench is 100% customizable to the height and depth that you prefer. Cut the boards accordingly.


Step 23: Install white vinyl trim board along the perimeter of the exterior walls. Next, install the siding you prefer. If you have not yet, install the bracing to the bar side.


Step 24: Install the chalkboard using 18g galvanized nails with nail gun or 8p nails.


Step 25: Build the Sandbox: There are many ways you could create a perimeter for the sandbox within the playhouse. Determine what you would like and measure 2x6 green treated and cut to length. Screw to the 2x6 green treated base of the building using 3" deck screws.


Step 26: Put in the sand and start playing! You can see how excited Little Miss Sunshine was!


And that's it, you're finished! I added chalk, sandbox toys, and bowls/cups from the a dollar store. Now there are hours of playtime and entertainment ahead!


Do you have a project that you would use GAF Roofing on? I'd love to hear about it!


LinkWithin

Related Posts Plugin for WordPress, Blogger...